How to use your name stamp
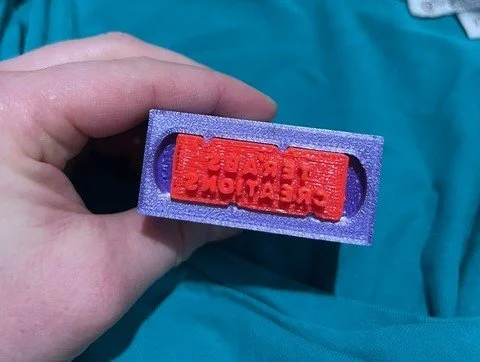
Step 1 - Get ready
Place your chosen stamp pad in your stamp holder and get your inkpad out. It’s recommended to start with white if using both black and white in one session. You can wipe the white ink off with a tissue and move on to black.
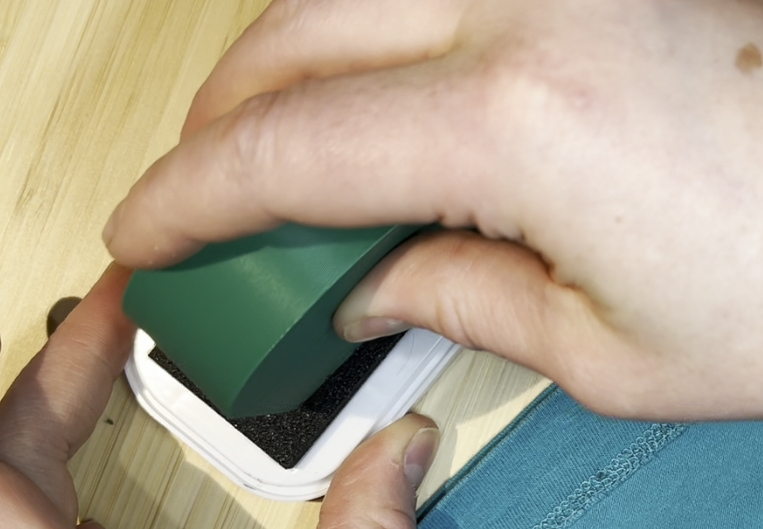
Step 2 - Get inky
Press your stamp into the stamp pad, but not too firmly so you do not get ink past the letters. You will notice the letters sit fairly high up to give you space to press. When it’s your first use on a clean stamp, you may also find it helpful to wipe your stamp from side to side on the ink pad to fully fill it. After that a quick swipe or press each time to refill should be enough. See videos below step 3 for visuals.

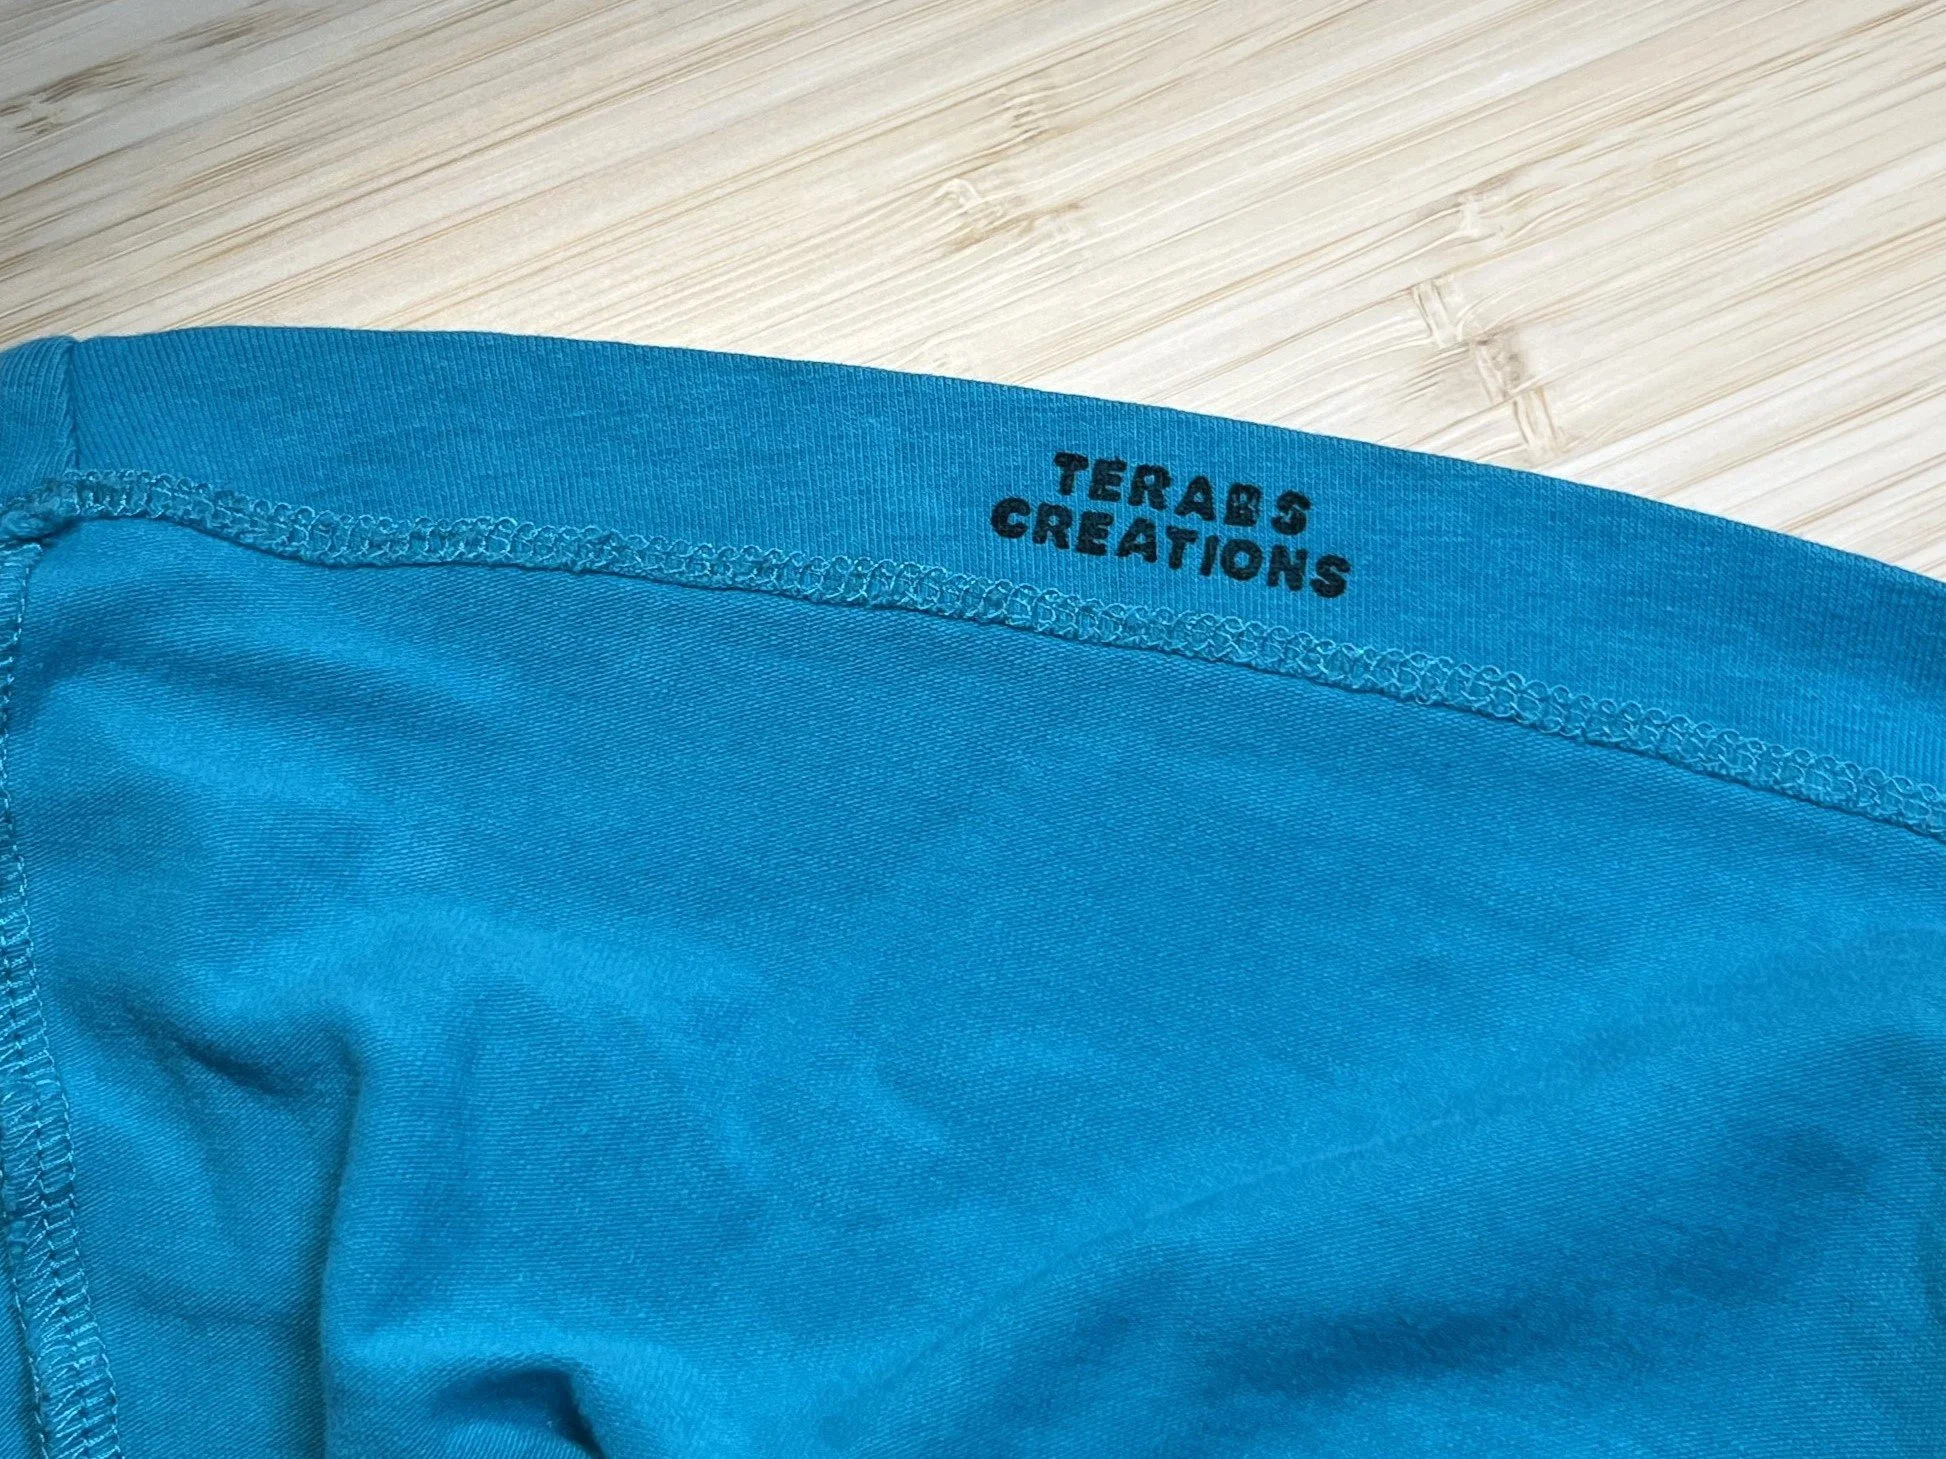
Step 3 - Stamp it!
Press stamp firmly into fabric or paper. Gently tilt it side to side and back and front to ensure a nice even full coverage stamp. See video at bottom if you need a visual.
Step 4 - Let is set
Leave your stamped items overnight to set before washing. If you wash them straight away, the ink will wash off.
If using the white ink, you can heat set with an iron for longer lasting results.
To remove ink from the stamp pad, just rinse under the tap.
Step 2, part 1
Step 2 part 2
Step 3